How to Share Forms in Sessions Health – A Simple Guide!
In today’s digital age, managing client information efficiently is crucial for healthcare providers. Sessions Health offers a comprehensive platform that allows practitioners to create, manage, and share forms seamlessly with clients.
This guide will walk you through the process of sharing forms in Sessions Health, ensuring a smooth and professional experience for both you and your clients.
Understanding Sessions Health:
Sessions Health is a HIPAA-compliant platform designed to streamline the administrative aspects of healthcare practices. It provides tools for scheduling, billing, telehealth, and most notably, managing forms and documents. The platform’s client portal enables secure sharing and signing of forms, enhancing communication and efficiency.
Types of Forms You Can Share:
Before diving into the sharing process, it’s essential to understand the different types of forms you can create and share:
- Consent Forms: Used to inform clients about the treatment methods and obtain their agreement. These forms always include a signature field.
- Intake Forms: Collected during the onboarding process to gather essential client information.
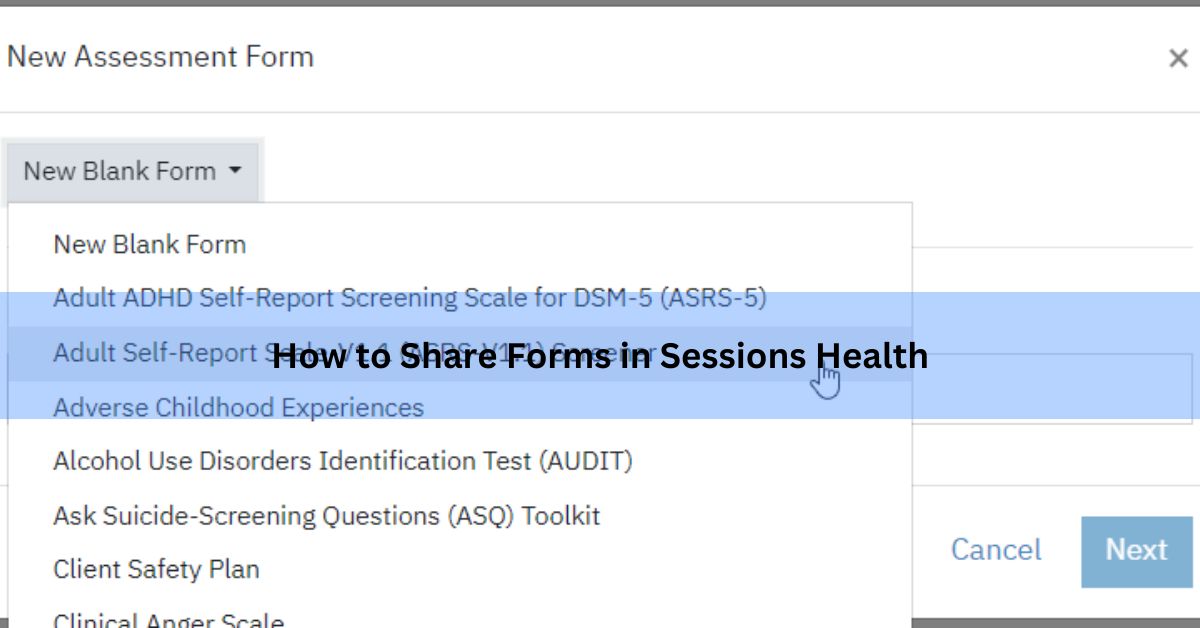
- Assessments and Screenings: Used to evaluate a client’s condition or progress. These can be customized and shared as needed.
- Questionnaires: Surveys or feedback forms that can be sent to clients for various purposes.
- Notes and Treatment Plans: Documentation of client sessions and planned interventions.
Step-by-Step Guide to Sharing Forms:

1. Creating a Custom Form
To create a custom form:
- Navigate to Forms & Documents > My Forms in your Sessions Health account.
- Click the + Add button next to the type of form you wish to create.
- Give your form a name and click Save.
- Add form elements (e.g., text fields, checkboxes, signature fields) as needed.
- Once satisfied, click Save to finalize your form.
For a detailed walkthrough, refer to the Creating a Custom Form guide.
2. Sharing the Form with a Client
To share a form with a client:
- Go to Clients > [Client Name] > Portal.
- In the Requested and Shared Documents section, click Manage Documentation.
- Check the forms you wish to share or uncheck those you wish to unshare.
- Click Save.
Your client will receive an email notification about the new document to review.
3. Sharing a PDF or Other Document
To share a PDF or other document:
- Navigate to Clients > [Client Name] > Portal.
- In the Requested and Shared Documents section, click Manage Documentation.
- Scroll to the bottom and click +Add.
- Upload your document and click Continue.
- Add a custom email message if desired and click Save.
Also Read: What Insurance Does Archwell Health Accept – Explore Eligible Medicare Plans!
Custom Form Elements:
1. Text Fields
For collecting short or long responses like names, addresses, or detailed comments.
2. Dropdown Menus
Ideal for selecting one option from a list (e.g., appointment types or departments).
3. Checkboxes
Allow users to select multiple options, such as services needed or symptoms experienced.
4. Radio Buttons
Best for choosing a single answer from several fixed choices (e.g., Yes/No questions).
5. File Uploads
Enable clients to attach documents like ID proof, referrals, or previous records.
6. Date Pickers
Simplify scheduling by letting users select dates for appointments or events.
7. Signature Fields
Collect legally valid digital signatures for consent or agreement purposes.
8. Section Headers
Organize long forms into logical sections for easier readability and completion.
9. Conditional Logic Fields
Show or hide questions based on earlier responses to streamline the user experience.
10. Instructional Text
Provide guidance or clarify complex questions directly within the form.
Client’s View of Shared Forms:
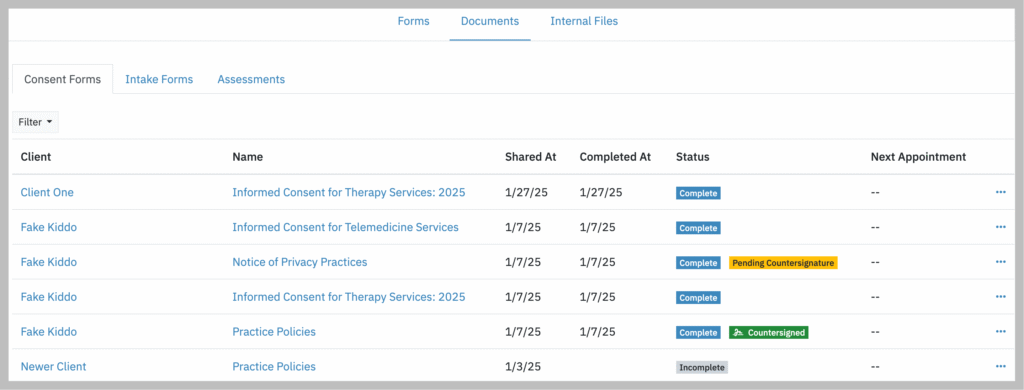
Once shared, clients can access their forms through the client portal:
- Consent Forms: Available for review and signature.
- Intake Forms: Displayed for completion during onboarding.
- Shared Documents: Includes assessments and other shared documents.
- My Uploads: Section where clients can upload documents for your review.
Best Practices for Sharing Forms:
1. Use Electronic Signatures
Add digital signature fields to your forms to simplify the signing process. This saves time, reduces paperwork, and improves efficiency. Ensure your e-signatures comply with legal and security standards.
2. Customize Forms
Adapt your forms to match your practice’s specific needs. Include relevant fields, dropdowns, and clear instructions. Customized forms improve data quality and client experience.
3. Regularly Update Forms
Review and revise your forms periodically to stay current. Ensure compliance with new laws, policies, or service changes.Up-to-date forms reflect professionalism and accuracy.
4. Monitor Client Responses
Check your portal frequently for completed submissions.Use notifications or reminders to stay informed.Follow up promptly on missing or incomplete forms.
Troubleshooting Tips:
- Form Not Appearing for Client: Ensure the form is correctly shared in the client’s portal settings.
- Client Unable to Sign: Verify that the form includes a signature field and that the client has access to the portal.
- Document Upload Issues: Advise clients to ensure their document is in a supported format and within size limits.
FAQ’s:
1. Will the client get a notification?
Yes, the client will receive an email letting them know a form is waiting in their portal. They can log in and complete it online.
2. Can I resend a form if it wasn’t completed?
Absolutely. Go to the client’s profile, find the form, and click “Resend”.You can also follow up with a reminder message.
3. Is sharing forms secure in Sessions Health?
Yes, Sessions Health uses HIPAA-compliant encryption.All shared forms are secure and private.
4. Can I delete a form I already sent?
You can’t delete it from the client’s portal once it’s sent, but you can cancel follow-up steps.Instead, you may explain and resend an updated form.
5. Is there a way to automate sending forms?
Sessions Health allows you to automate form delivery for new clients or before appointments.Check your settings or use intake workflows.
6. Can I track form history for a client?
Yes, you can view all forms sent, completed, or pending in their profile. This helps you stay organized and track progress.
Conclusion:
Sharing forms through Sessions Health enhances the efficiency and professionalism of your practice. By following the steps outlined above, you can ensure a seamless experience for both you and your clients. For more detailed information and tutorials, visit the Sessions Health Help Center.
Read More: